5/28/11
Click here to view some other options. Smaller props can be wrapped just in bubble wrap, and for freight a full wooden crate can be constructed from similar materials.
Lightweight Crate for Large Wooden Propeller
Step by Step Instructions
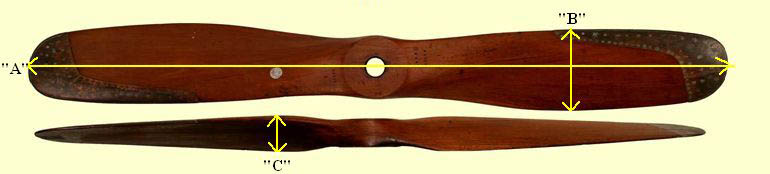
A crate will need to accomodate the "whole" length, width and height of the propeller. This means that factors such as scimitar shape, coarse pitch, wide blades, etc. will all dictate the final size of the crate. To determine these parameters lay the propeller on the floor, first on its edge then on its back and measure the following distances:
Note in this example that both "B" and "C" are larger than the hub size. A scimitar shaped prop will have its "B" dimension larger than either the hub OR the blade. (Click on the photo to the right for an example.)
Determine CRATE SIZE as follows:
Add 3 inches to measurement "A" - this will accomdate end pieces
Add 2 inches to measurement "B" - this will allow an inch of plywood overhang on each edge of the prop
Add 1 inch to measurement "C" - this will allow for the width of the plywood as well as padding space inside the crate
Measurement "A" will determine the length of the crate. If this is under 93", cut the plywood in 8 foot lengths by "B" plus 2" in width and omit step 3 below.
Measurement "B" will determine the width of the crate. Add 2" to this measurement then have Home Depot or Lowe's cut a 4' by 8' piece of 1/4" Luan plywood into at least 5 pieces, each 4 feet long. These will be glued into longer panels later.
2 cans of "Great Stuff" expanding foam insulation
1 roll of cellophane wrapping material
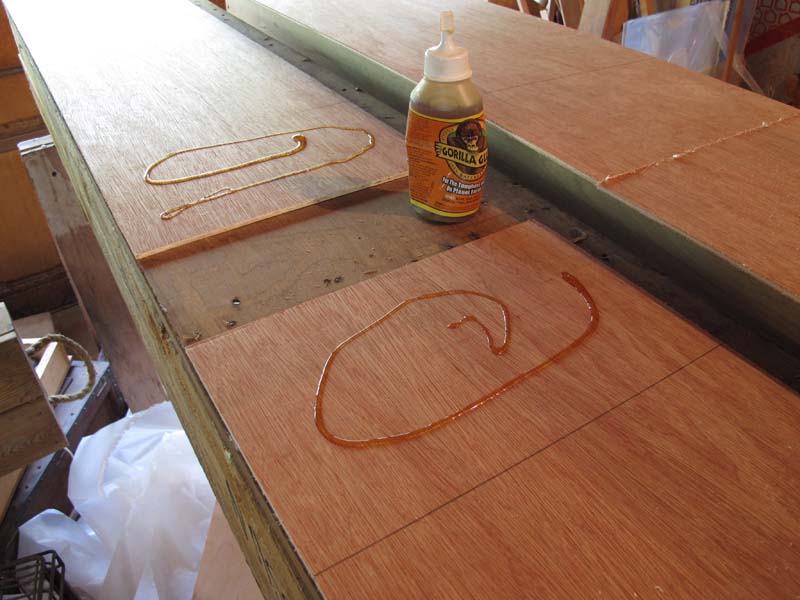
1 small container of "Gorilla Glue"
Lumber - pieces of 2x4 and 1x4. These can usually be obtained from their "scrap bin". If not, buy the shortest lengths you can.
A few dozen 1 1/4" sheetrock screws.
Step 3: Glue Plywood Panels
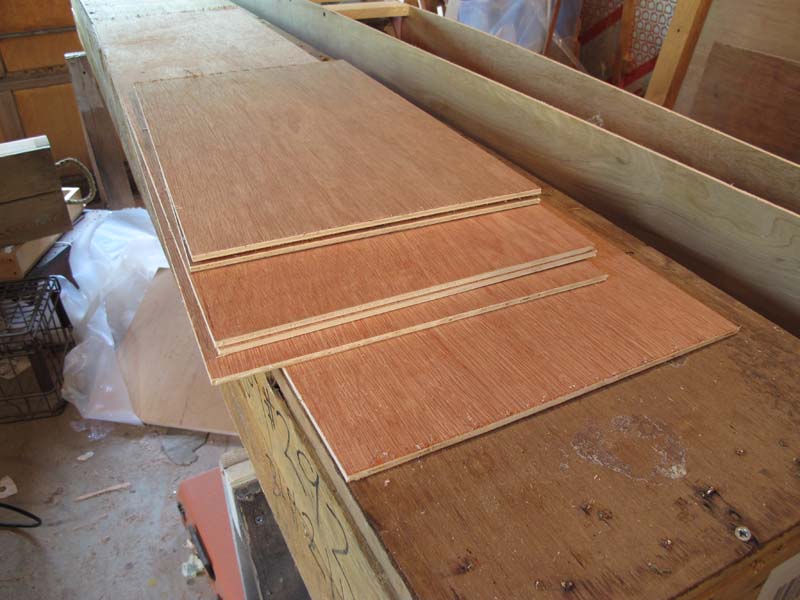


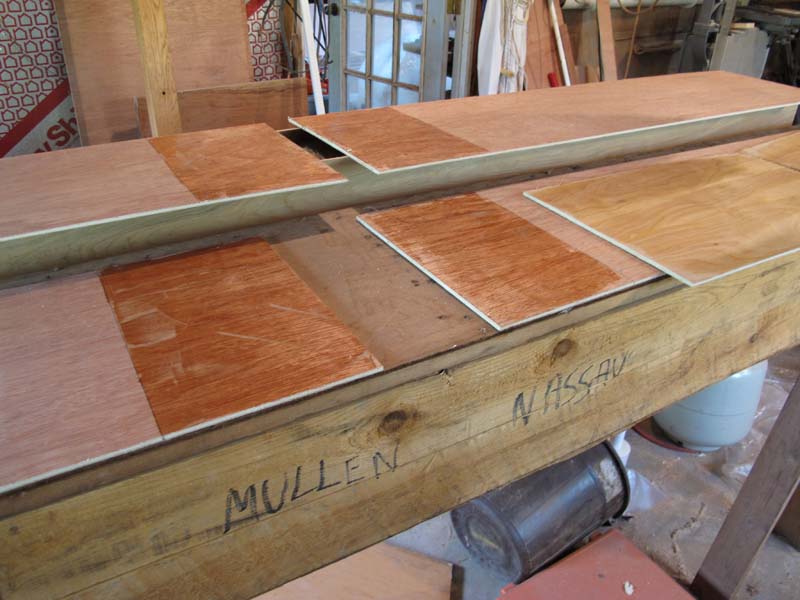
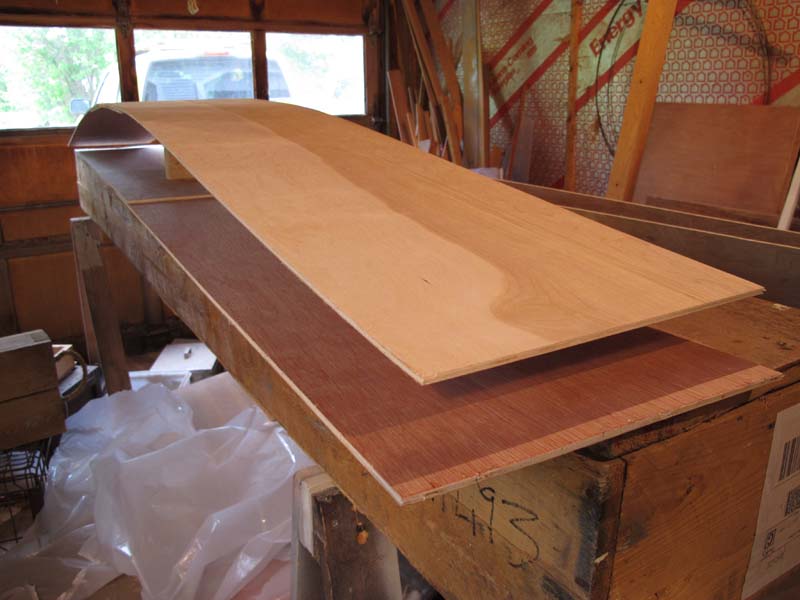
Cut one of the 4 foot panels in half, so you can use the 2 foot sections to glue the 4 foot sections together.
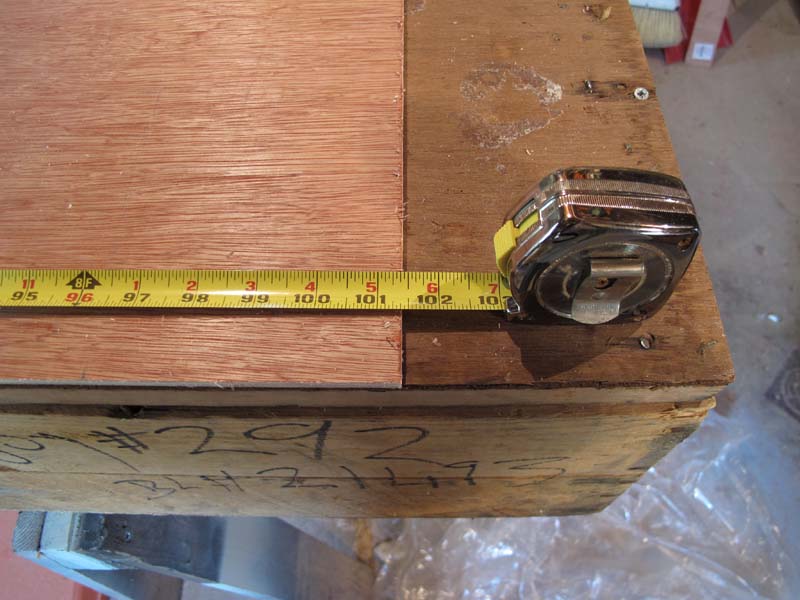
Lay two 4 foot panels on a straight, flat surface with a gap in between them. The distance from edge to edge will be measurement "A" plus 3 inches. (In this example the "gap" is about 5 1/2")
Lay the 2 foot section over the gap, equidistant overlap on each side, and mark the 4 foot section as shown.
Spread a THIN layer of Gorilla glue within the marked off portion of the 4 foot pieces. I use an old hotel keycard to spread it thinly. Do this on all 4 pieces of 4 foot sections at once.
Per Gorilla's instructions, lightly wet the undersurface of the 2 foot sections.
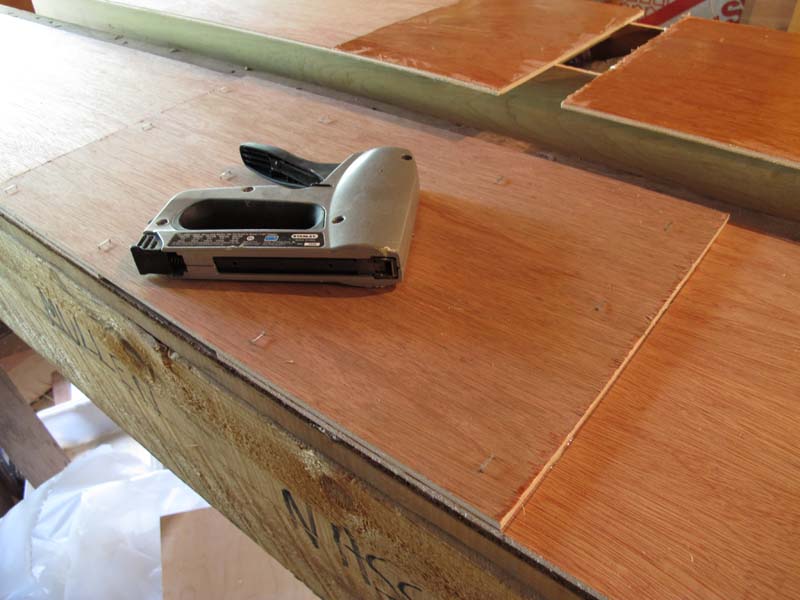
Align the 2 foot section over the gap then staple it into place. I use 9/16" staples, hammer them snugly, then later bend over the protruding ends on the other side, but shorter staples (3/8") that don't penetrate both pieces will work.
Put a piece of plastic over the first panel, lay the pieces of the second panel directly on top of it and staple the second panel together the same way. I put a heavy weight on them as the glue dries, since the Gorilla glue does expand.
You now have two long flexible panels that are 3 inches longer and 2 inches wider than the propeller itself.
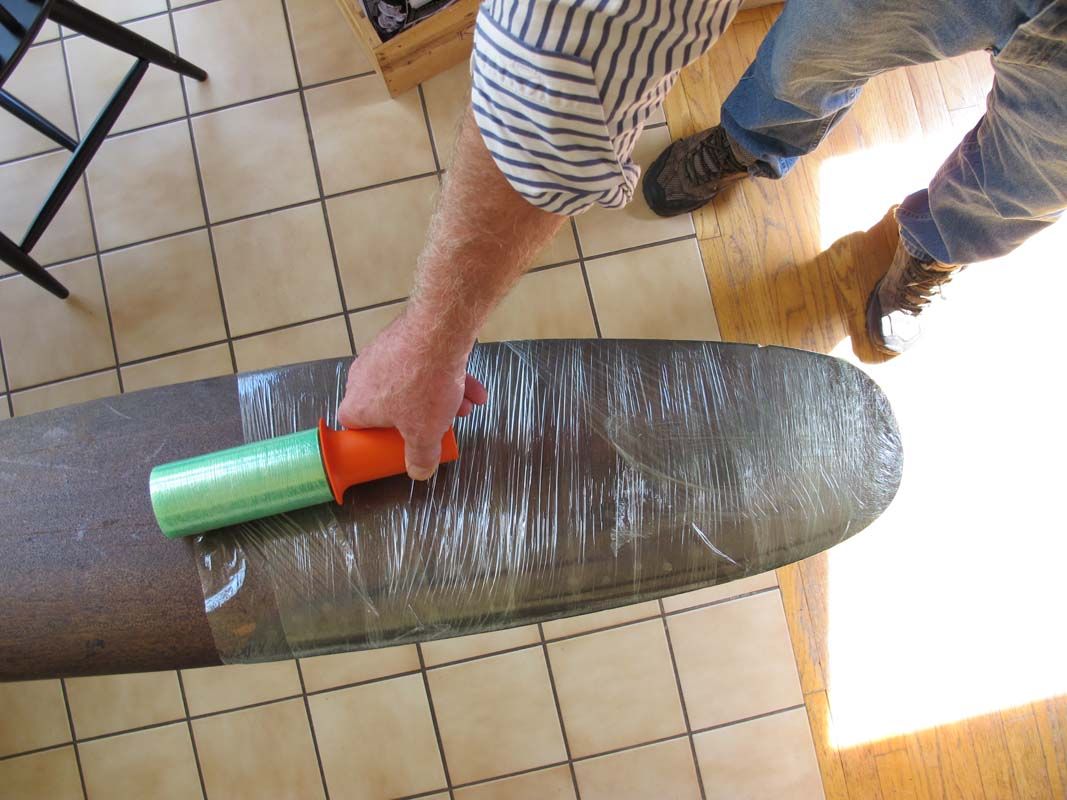
Step 4: Create the Plywood "Shell"
Wrap the entire propeller with cellophane, overlapping half the width of the roll with each turn.

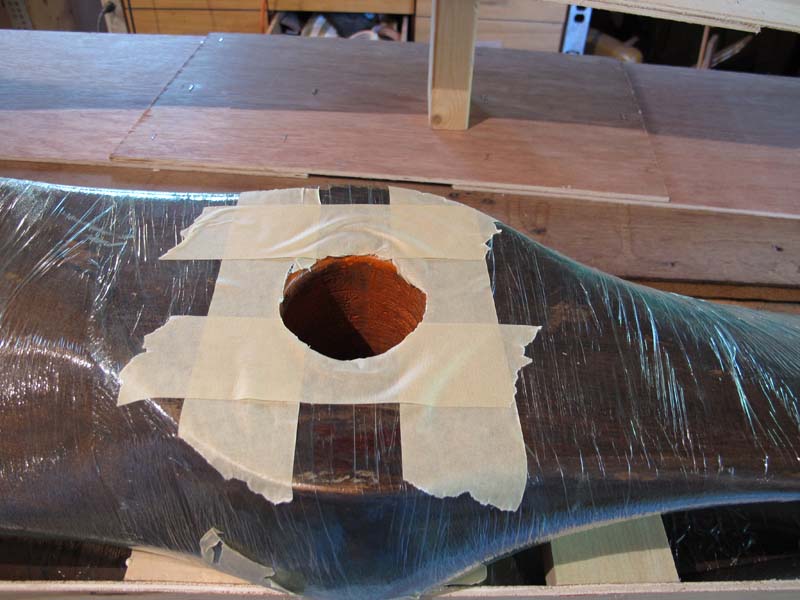
Tape around the center hole then cut a space for the middle support.
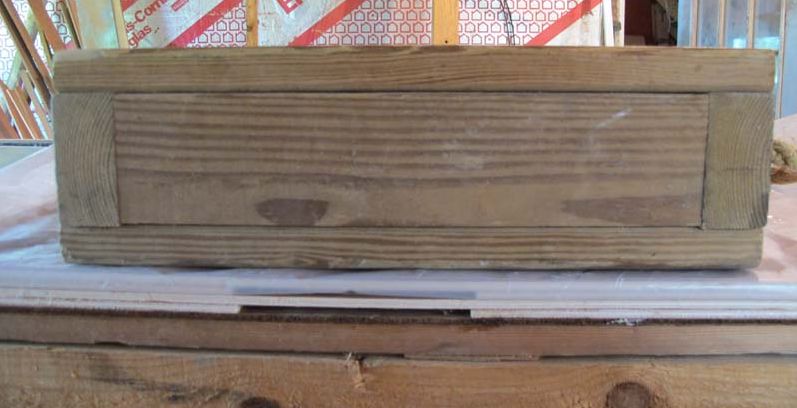
Cut a piece of 2x4 to measurement "C" and the width of the center bore in the propeller. Mark the middle of it and mark the middle of the plywood panels, then drill a small centering hole in each.
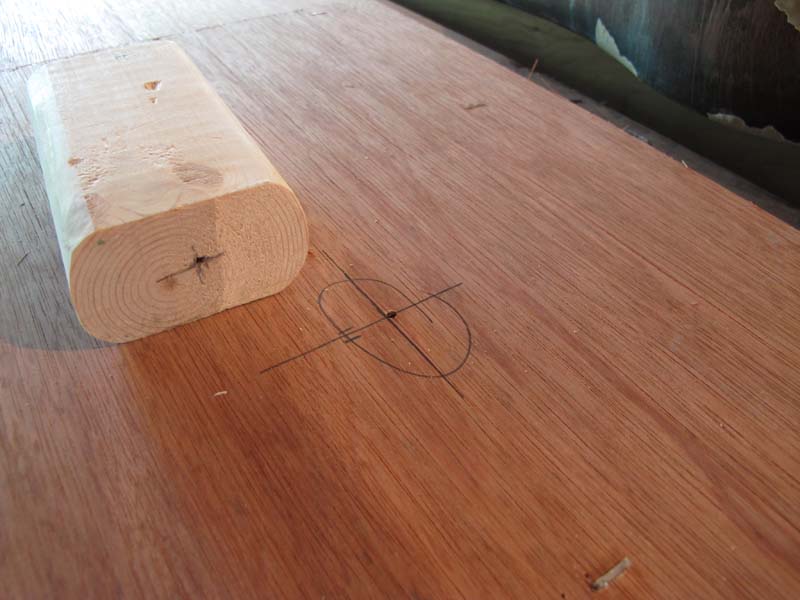
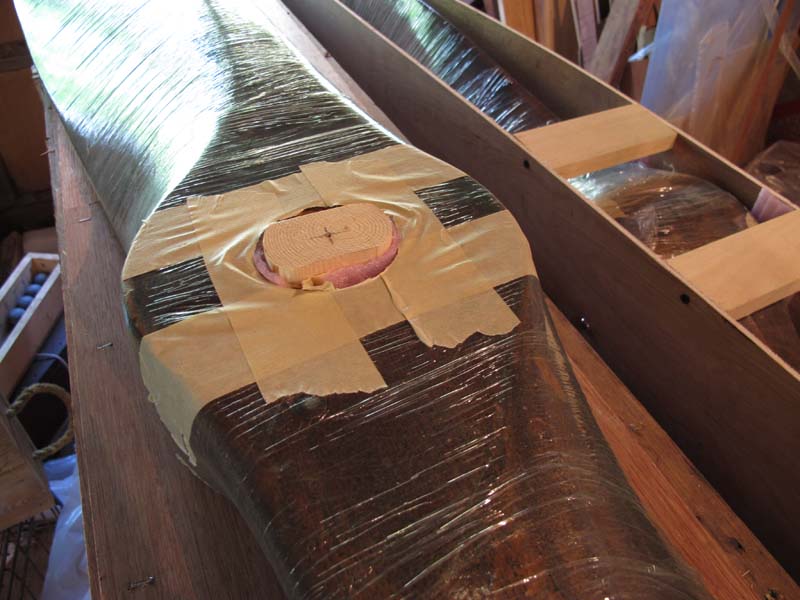
Screw the center post onto one of the panels, lay it flat, the put the propeller on the post. You can make the center post smaller than the center bore and use padding if desired.
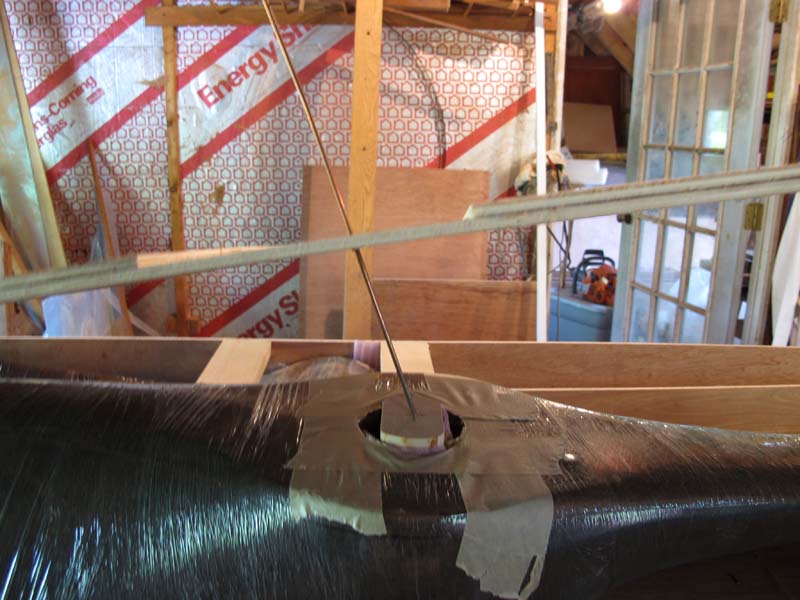
I use a welding rod to align the top panel to the post, lower the panels together and use a single screw to hold the post.
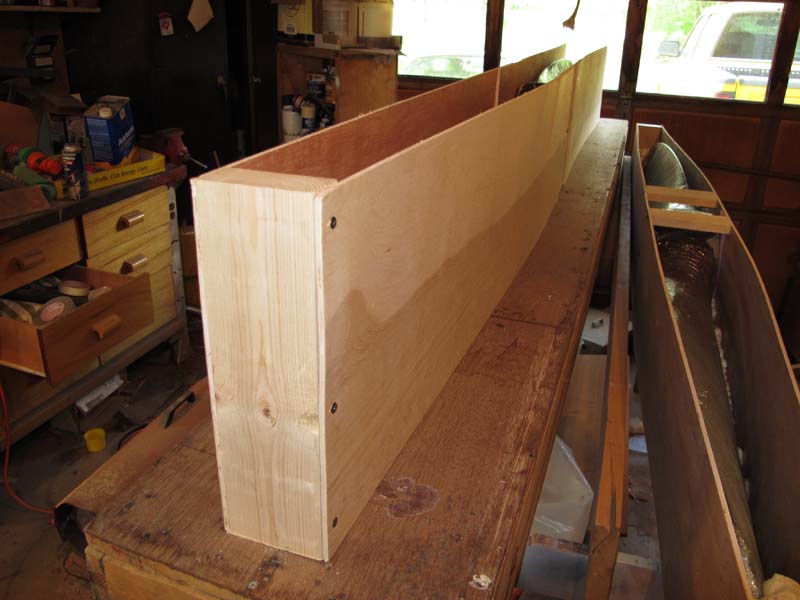
With the prop "hanging" on the center post, turn the panels on edge and use a 2x4 to join them at each end. This creates a "box" with the propeller floating in the middle so that there is some space all around it for foam to occupy.
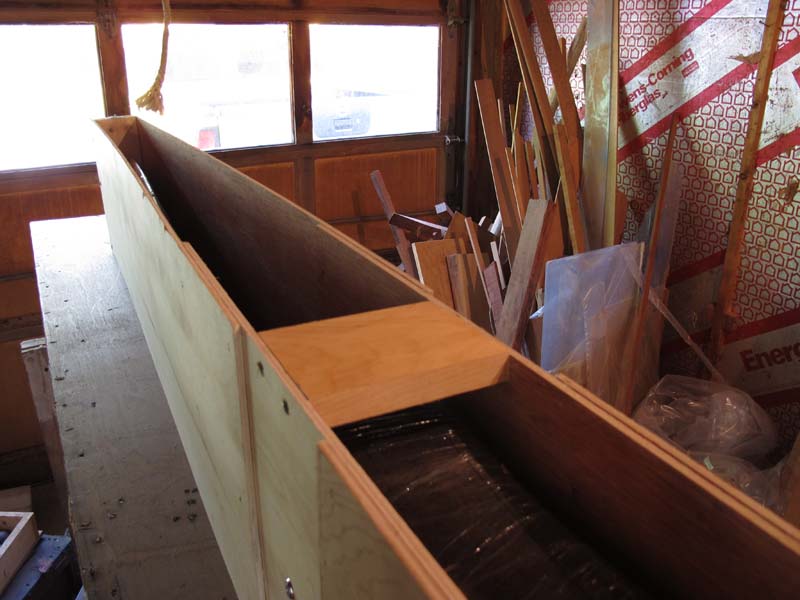
Cut a small piece of 1x4 to strengthen the middle. I also usually add pieces between this and the ends for addtional strength.
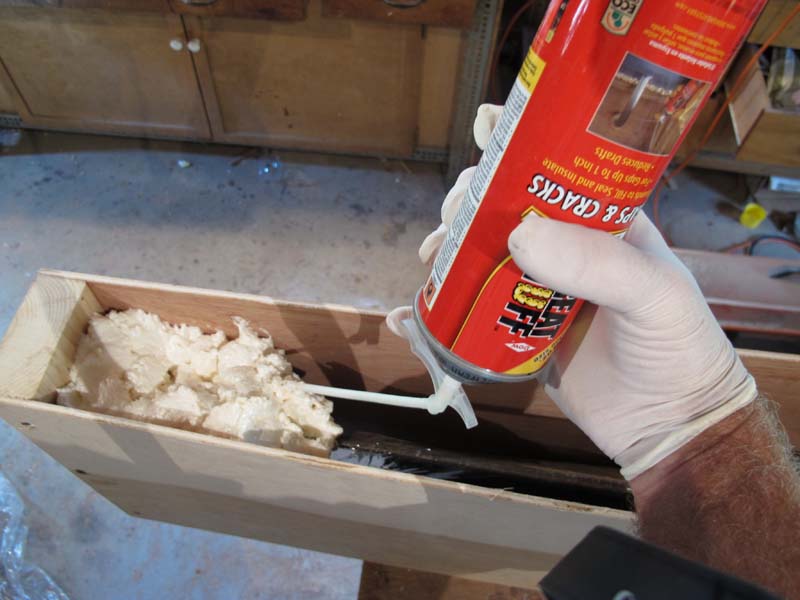
Step 5: Inject Foam Insulation
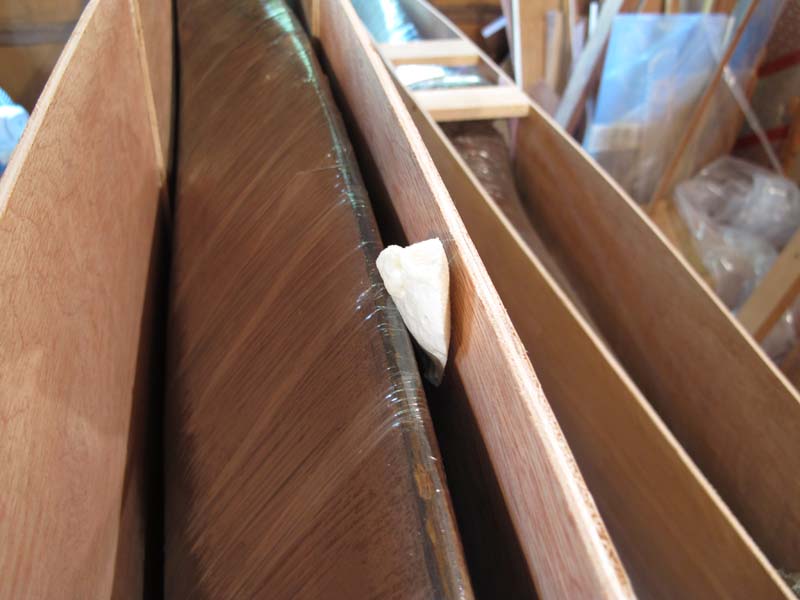
Make sure that there is a space between the propeller surfaces and the plywood. Small pieces of foam work well, and they will get incorporated in the injected foam. "Center" the propeller within the crate, so that there is roughly equal overlap of the plywood on both edges.

Squirt some foam at the tips, then run a bead of it along the edges, where the propeller might be vulnerable to impact. The foam holds the propeller in the "box" and holds the plywood away from the surface of the prop. It will easily peel away from the cellophane when unpacked.

Allow the foam to cure, then turn the crate over and inject foam on the other side. Foam that expands beyond the edges of the box can be easily removed with a knife or saw.

Done!
Step2: Materials
Step 1: Measure Propeller and Determine Crate Size
Steps to Uncrate the Propeller