Basic Propeller Construction - Techniques |
All wooden propellers consist of individual laminations of wood, usually roughly 3/4 inch in thickness. Manufacturing of a wooden
propeller consists of wood selection, gluing, shaping and finishing. |
Wood Selection This process is not the choice of wood species but rather the careful selection of individual boards of wood to be joined in a way to achieve maximum strength as well as balance. Since wood is not uniform in density, simple mass gluing of boards is likely to result in uneven distributions of weight within the propeller. While many propellers were made this way, the American Propeller Company (Paragon) devised a method to balance half-blades individually, then join these at the hub. In addition, wood grain (annual ring orientation) was carefully matched to produce equal stiffness, or resistance to torsional deflection, in each blade. Following the matching of wood by weight and grain, the rough outline of the individual piece, based on its position within the propeller was cut out for gluing. |
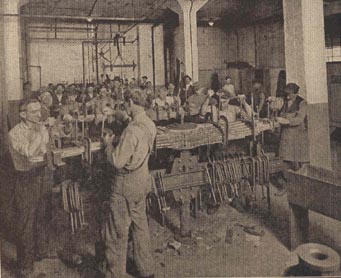
Gluing A relatively straightforward process, pre-selected boards were heated, warm glue applied to opposing surfaces, and multiple special clamps applied at short intervals along the entire length of the blade, beginning at the hub. Clamps were left in place for 24 hours or more, then the rough form allowed to cure for several days before milling. |
. |
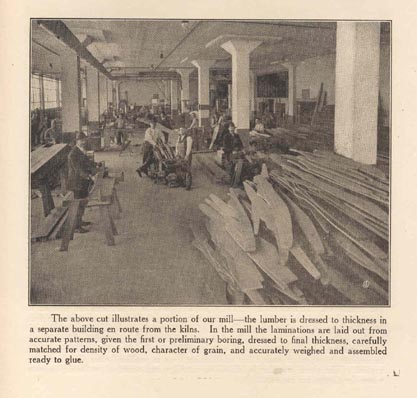
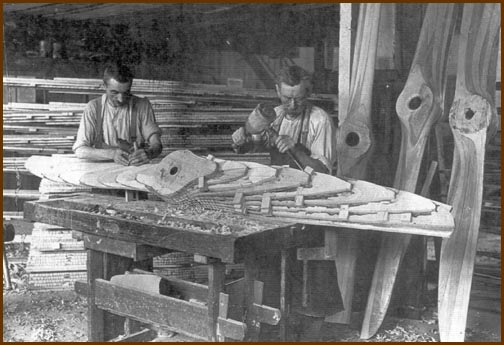
Shaping A surprising number of propellers went from the stage in the photo below all the way to a finished product entirely using hand tools, with cross sectional templates used to determine exact shape along various distances from the center. Later, as production demand increased, a variety of machines were created to accurately obtain the final shape, some producing multiple propellers in one process. As part of the shaping process, the center of the propeller was placed on a knife edge balancing device, and small amounts of wood were removed to obtain precise balance. At the completion of the final shaping, after inspection of the product, the final drill holes were created in the hub, and specification numbers stamped into the wood. |
Finishing The surface was smoothed with furniture scrapers or sanding materials, then in some cases, the tips were covered with fabric and /or metal sheathing before multiple coats of varnish were applied. Many times the final balancing of the blades was actually accomplished by the uneven application of varnish. |